Warm sunlight illuminates the gentle slopes as you kneel on a gravel trail, affordable camera kit ready for action. Capturing the rich textures and contours of the land does not require high-end equipment. Choosing clever alternatives and adopting simple, effective routines can help you move past ordinary snapshots to create engaging landscape images. With a little creativity and attention, budget-friendly gear can produce remarkable results in the great outdoors. Discover practical tips and fresh approaches that make the most of your setup, turning each outing into an opportunity for memorable photography beneath wide, open skies.
Discover Hidden Layers in Open Spaces
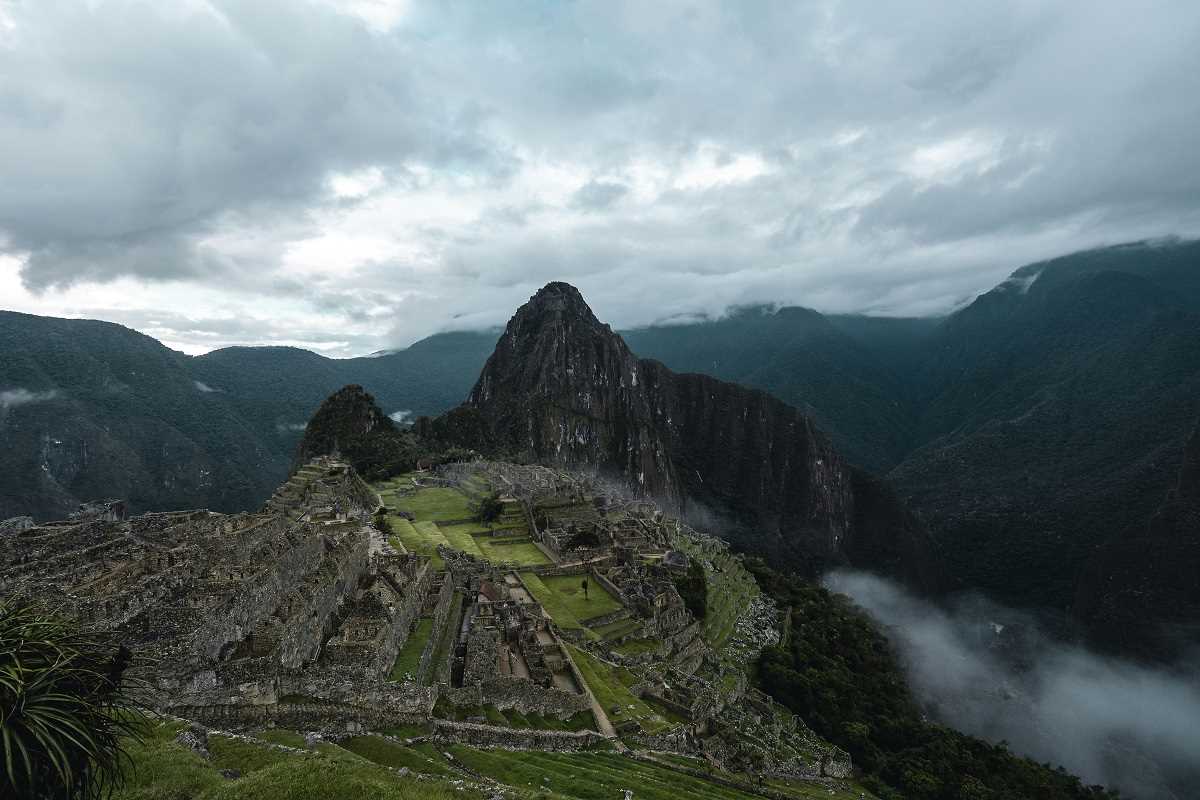
Wide vistas can appear flat if you simply point and shoot. Instead, notice how layering elements—foreground textures, middle-ground landmarks, and distant shapes—build a strong visual story. When you break down a scene into three parts, it turns ordinary fields or shorelines into immersive journeys through your frame.
Next, emphasize environmental contrasts. Cool reflections on wet stones, warm grasses flickering in breeze, or tree silhouettes against cloud walls highlight texture and drama. These subtle shifts in color temperature and form guide the viewer’s eye along natural pathways without relying on flashy gear. Use manual white balance settings on an entry-level camera or smartphone to emphasize these contrasts in real time.
Practical Techniques for Stunning Shots
- Tripod Alternative Kit
- Purpose: stabilize camera/phone for sharp shots in low light
- Steps:
- Place a compact beanbag or rolled socks on a flat surface
- Nestle device into fabric, adjusting pressure for level framing
- Check horizon alignment using grid overlays
- Cost: under $15 online
- Insider Tip: choose a dark-colored cover to avoid reflections on water/snow
- DIY Diffusion Panel
- Purpose: soften harsh midday light for detailed textures
- Steps:
- Stretch white cotton handkerchief over frame or between poles
- Position between sun and subject, angling until shadows soften
- Lock camera exposure to bright side of panel
- Cost: < $5 in fabric stores
- Insider Tip: use spring clamps to keep fabric taut on windy days
- Smartphone Panorama Stitch
- Purpose: capture wide landscapes without special lenses
- Steps:
- Enable panorama mode
- Stand with feet planted, arms close to body, pan slowly
- Overlap sweeps by ~30% for clean stitching
- Cost: free (built-in or with apps)
- Insider Tip: pan with sun behind you to avoid lens flare
- Reflector Hack
- Purpose: brighten shadows without flash
- Steps:
- Unfold silver emergency blanket
- Crumple slightly, then flatten to scatter light
- Position opposite sun to bounce light into shaded areas
- Cost: ~$3 at camping stores
- Insider Tip: angle reflector low to highlight ground textures like dew or pebbles
- Low-Cost Wide-Angle Lens Adapter
- Purpose: expand field of view on smartphones
- Steps:
- Buy clip-on adapter (~$20)
- Align carefully and secure clamp over lens
- Test shots at different focal lengths to manage distortion
- Extras: some adapters include macro mode
- Insider Tip: hold adapter slightly off-axis to create a subtle vignette effect
Frame Your Shots Intentionally
Good composition comes from deliberate choices rather than gear wishlists. Try framing scenes with natural structures: hollowed logs, arching branches, or cave entrances. These frames direct the viewer’s eye and add depth, inviting them into your scene. Look for symmetrical patterns in rock layers or clouds to convey calm, or off-kilter horizons and diagonal slopes to dramatize motion.
Another approach is the “three-way crossroads.” Find where textures, colors, and shadow lines meet. Place your main subject at one of those points to keep the scene balanced. This technique works well with winding trails, flowing rivers, or erosion-carved pathways. It’s less about perfect angles and more about guiding viewers along meaningful visual routes.
Creative Tricks with Color and Contrast
- Adjust your camera’s white balance manually to boost warm tones during golden or blue hour. Aim for slightly warmer hues when clouds fill the sky, and cooler shades when you want sharp clarity on rocky surfaces.
- Use your editing app’s selective brush to increase saturation on lone wildflowers or colorful lichens, creating eye-catching focal points against neutral backgrounds.
- Try graduated color filters in free software to darken parts of the sky selectively, adding depth without introducing JPEG artifacts.
You can also add unexpected context—like capturing a weathered fence post in the foreground of a vast prairie. This juxtaposition of familiar and expansive highlights the landscape’s scale and draws emotional engagement. These tricks help you craft visually rich scenes on any budget.
With these new approaches and cost-effective adjustments, your next outing will produce images that match those taken with high-end cameras. Focus on framing, experiment with light, and use your hands to create compelling compositions—then see your landscapes come alive.
Trust your intuition, choose your gear carefully, and use resourcefulness to capture memorable landscape photos, no matter your equipment.